In the fairyland of email communication, there were three emails: one flew to the Great King Inbox, another one glided to the Evil Prince Spam Folder, and the last one smashed into the wall and flew back to the fairyland.
Whether we like it or not, the same thing happens when we try to send marketing or transactional emails to our customers. It’s almost impossible to achieve a 100% inbox placement rate or IPR (the percentage of emails that reach recipients’ inboxes). The average IPR is around 89% across all industries.
To help you boost IPR and email deliverability as much as possible, today we’ll teach you how to stop emails going to spam.
Why are my email marketing campaigns ending up in the spam folder?
There could be multiple causes, but the most common reasons include the following:
- Spammy content
- Compromised sender reputation
- Poor engagement rates
- Unreliable email infrastructure
- Non-existent unsubscribe links
- Non-compliance with GDPR, CCPA, CAN-SPAM act, and other email marketing laws
- Unmaintained email lists
- Incorrectly defined or missing email headers and so on.
- Failing to comply with the latest sender requirements from Google and Yahoo.
Most internet service providers (ISPs) have spam filters. These are protocols that decide whether to let in an incoming message or not. And though they seem like bad guys, they actually protect us from phishing attacks, spammers, and malicious emails.
How spam filters work
The success of your email campaign is heavily reliant on filter technology. Built-in filters and a third-party email management tool not only block incoming messages but organize them as well. Today, many email service providers and email clients break down your messages by social, commercial, newsletters, and other categories. They leverage specific criteria to evaluate an incoming message and place it into the relevant folder.
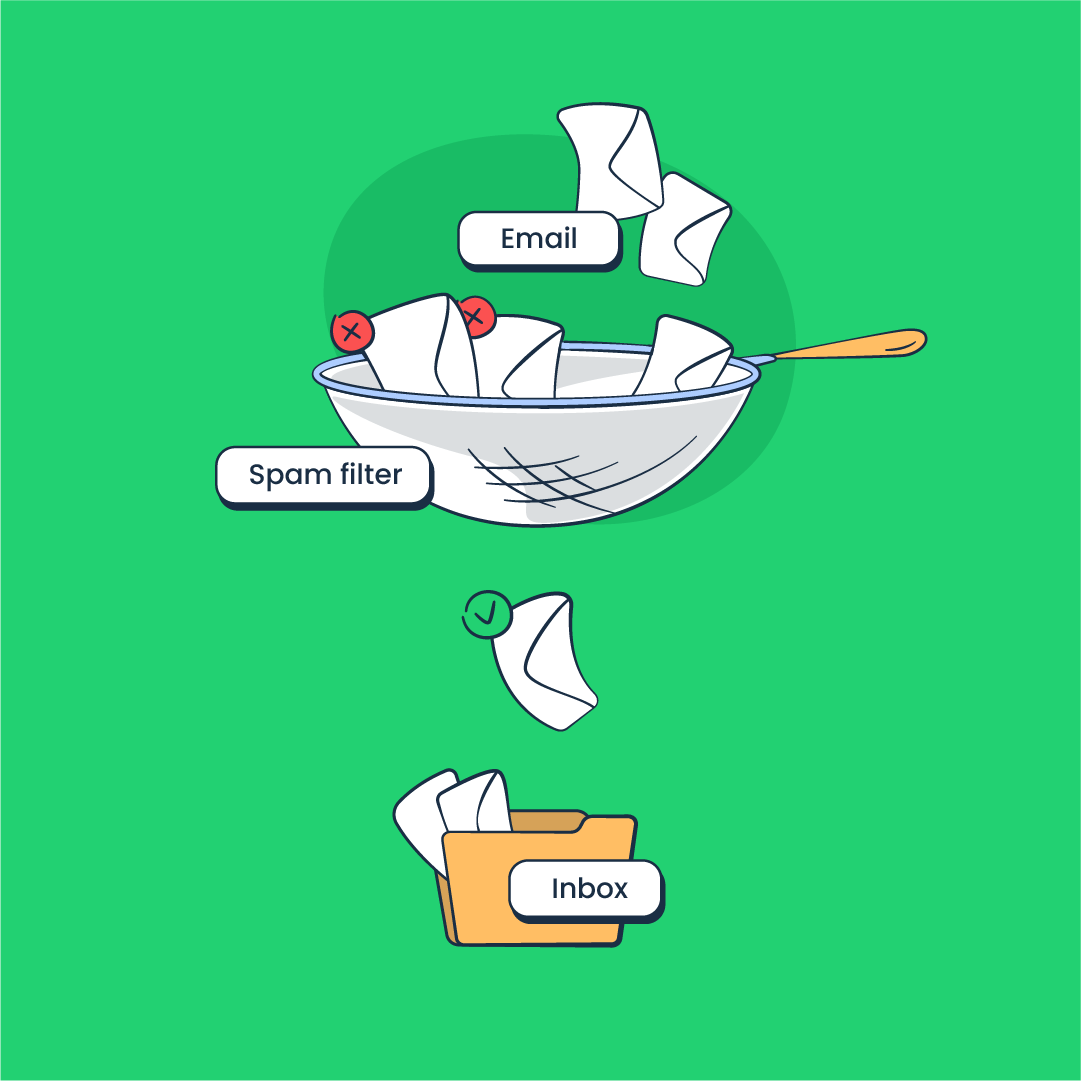
Spam filters work the same way and assign a spam score to the message. If the score meets a certain threshold, the email will be inboxed. Otherwise, you’ll find it in the spam folder. There is a long list of spam criteria, and it gets modified and adapted every day. The filtering practices are usually undisclosed for security purposes, but we still have a general understanding of what they do and don’t like.
Types of spam filters
Spam filters can differ depending on the criteria they evaluate and the way they are implemented. Criteria-based spam filters include:
- Content filters that check the content of an incoming message for spam trigger words, malicious attachments, refined HTML code, etc.
- Header filters that check the header of an incoming message for infectious or falsified information.
- Blacklist filters that check whether an incoming message has been sent from a sender not specified in the blacklist.
- Rule-based or heuristic filters that check an incoming message according to the criteria defined by the user. These may include spam triggers for specific senders, words in the subject line, etc.
- Permission filters that check if the sender has the recipient’s permission to send marketing emails.
- Challenge-response filters that send specific challenges (such as entering a password or solving a simple puzzle) to the sender to verify that they are legitimate.
The most common types of implementation-based spam filters are the following:
- Gateway filters that are implemented as a physical server to detect phishing, spoofing, malware, viruses, and spam emails. They analyze the incoming email and determine whether the email is or is not spam. Barracuda, SpamTitan, and Cisco Secure Email Threat Defense are examples of gateway spam filters.
- Hosted filters that act as a second layer of security. Their algorithm checks incoming email messages after they are approved by the gateway filter. Also known as third-party spam filters, hosted filters use content and reputation criteria to assign a spam score to the email. Examples include Cloudmark, Spambrella, and MailCleaner.
How to avoid emails going to spam in different mailbox providers
Before moving to general recommendations, let’s see how you can prevent your emails from going to spam in different mailbox providers and email clients.
Gmail
To stop emails going to spam in Gmail, recipients and senders should follow different instructions.
For senders
Google provides a list of best practices that you should follow to reach the inboxes of recipients with Gmail accounts. Here’s what they are:
- You should configure DKIM and SPF records for your sending domain
- You should also set up reverse DNS records or PTR records
- Your sending domain should be the same as your public website. For example, for Mailtrap.io, the sending domain should also be @mailtrap.io
- Try to send emails from the same IP address
- The same types of emails should be sent from the same sender address. For example, we should send all sales emails from sales@mailtrap.io, while transactional emails can be sent from info@mailtrap.io
- Try not to mix different email types into one email. For example, if you’re sending a password reset email, you shouldn’t have promotional elements in it
- Avoid sending test messages from your main sending domain
- Don’t impersonate anyone to capture recipients’ attention. Otherwise, your emails will be considered to be spoofed.
For recipients or your personal email account
There’s a simple solution if important messages are ending up in your junk folder in Gmail. You can whitelist addresses that you trust by creating a simple filter or adding them to your contacts.
To create a filter, navigate to Settings and press See all settings.

There, find Filter and Blocked Addresses tab and click Create a new filter.

Enter the address you want to be whitelisted in the From field, and type in your own email address in the To field. Press Create filter when you’re done.

A dialog box will pop up. Mark two checkboxes: Never send it to Spam and Also apply filter to # matching conversations. Then click Create filter.

That’s it. Now the emails from the entered address won’t be marked as spam.
Another option is to add a specific sender to your contacts. For that, find the email from that sender and hover your cursor over the avatar. Press the + sign and the sender will be added to the list of your contacts.

Microsoft Outlook, Hotmail, and Microsoft 365 (former Office 365)
Unlike Google, Microsoft doesn’t provide instructions on preventing emails from ending up in the spam folder. All you can do here is follow the general recommendations we’ll describe below and ask your recipients to whitelist your sender addresses.
It’s possible to whitelist addresses in two main ways: adding the sender to the list of safe senders and creating an inbox rule.
To add the sender in the safe senders’ list, you should navigate to the Settings in your Outlook webmail or app. On web, click View all Outlook settings (skip this step if you’re using the app).


Navigate to Junk email (Junk in the app) and find Safe senders and domains (Safe senders in the app) tab.


Press +Add (+ icon in the app), type in the sender email address or domain you want to whitelist, and press Enter.


It’s also possible to create inbox rules. To do so, go to Outlook settings once again, but this time choose Rules.


In the web app, press +Add new rule and then define the conditions. For example, if we want Andriy’s emails to show up in the inbox all the time, we should set From address as the condition. Then proceed with adding an action, such as Move to Inbox. Click Save and future emails from Andriy will no longer end up in the spam folder.

In the desktop app, you can define rules for POP3 and IMAP separately. These are message accessing protocols. By default, your app will most likely use IMAP. So, click on it and then hit + icon. A window will pop up in which you should define the conditions. Set the From parameter, choose Contains in the second box, and dial in the domain.
Then, choose the action, in our case, Change Status and Not Spam Email. That way, none of the emails coming from mailtrap.io (not only Andriy’s) will be marked as spam.

Yahoo! Mail and AOL
Similar to Gmail and Outlook, you can prevent emails from going to spam in Yahoo! Mail and AOL by adding the sender to the contacts or creating a filter.
Find the Settings icon in the top right corner and click on it.

Then press More Settings and choose Filters in the navigation panel. Click Add new filters.

Name your filter, in the From section choose contains, and type in the domain you want to whitelist. Under the Choose a folder to move to tab, type Inbox. Click save and you’ll be good to go.

To add a sender to your contacts, find one of their emails, click the burger menu, and choose Add Sender to Contacts.

How to prevent emails from going to spam
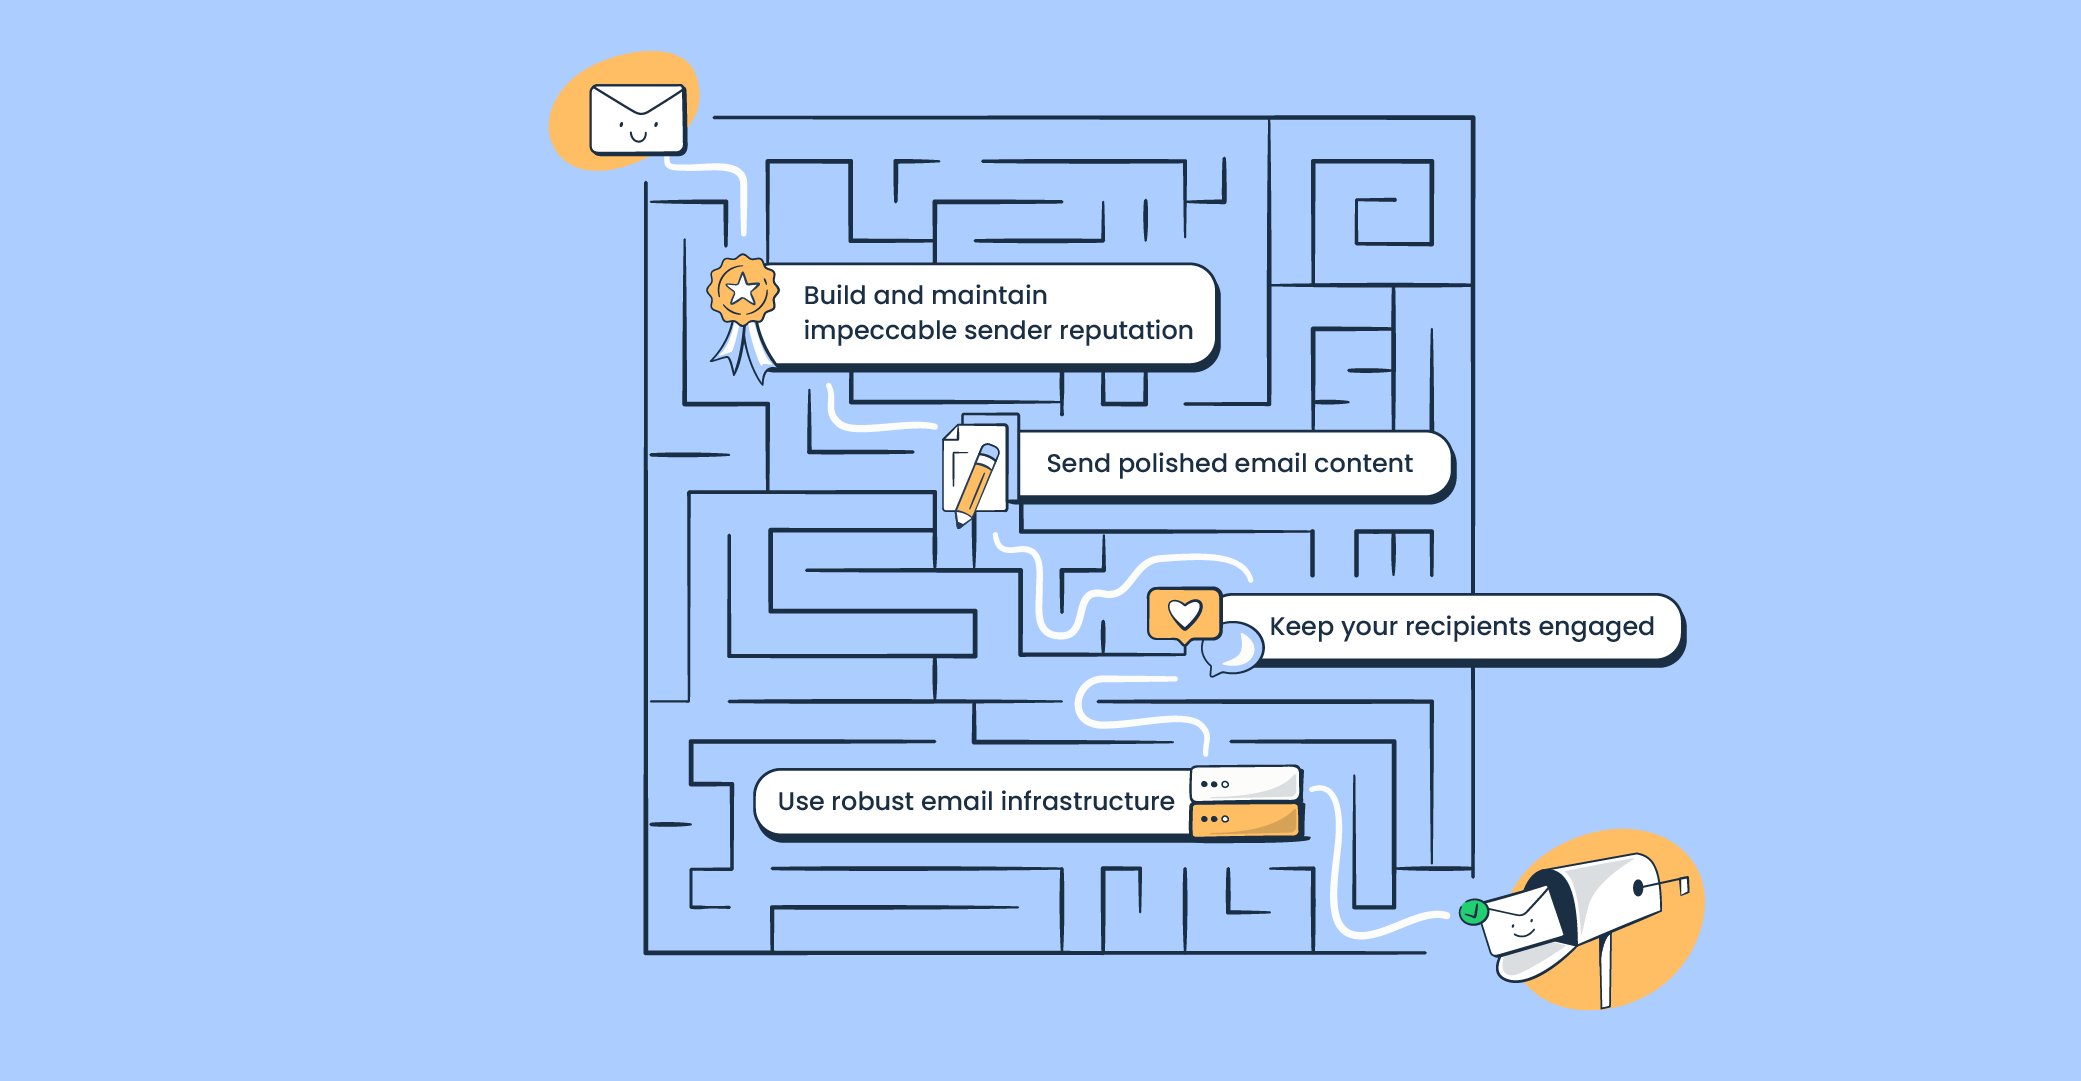
As you’ve probably guessed by now, there is no magic wand for dealing with spam filters. You have to take calculated measures to deliver legitimate emails to your recipients’ inboxes. And below, we’ll teach you how to reduce spam score of email and improve inbox placement.
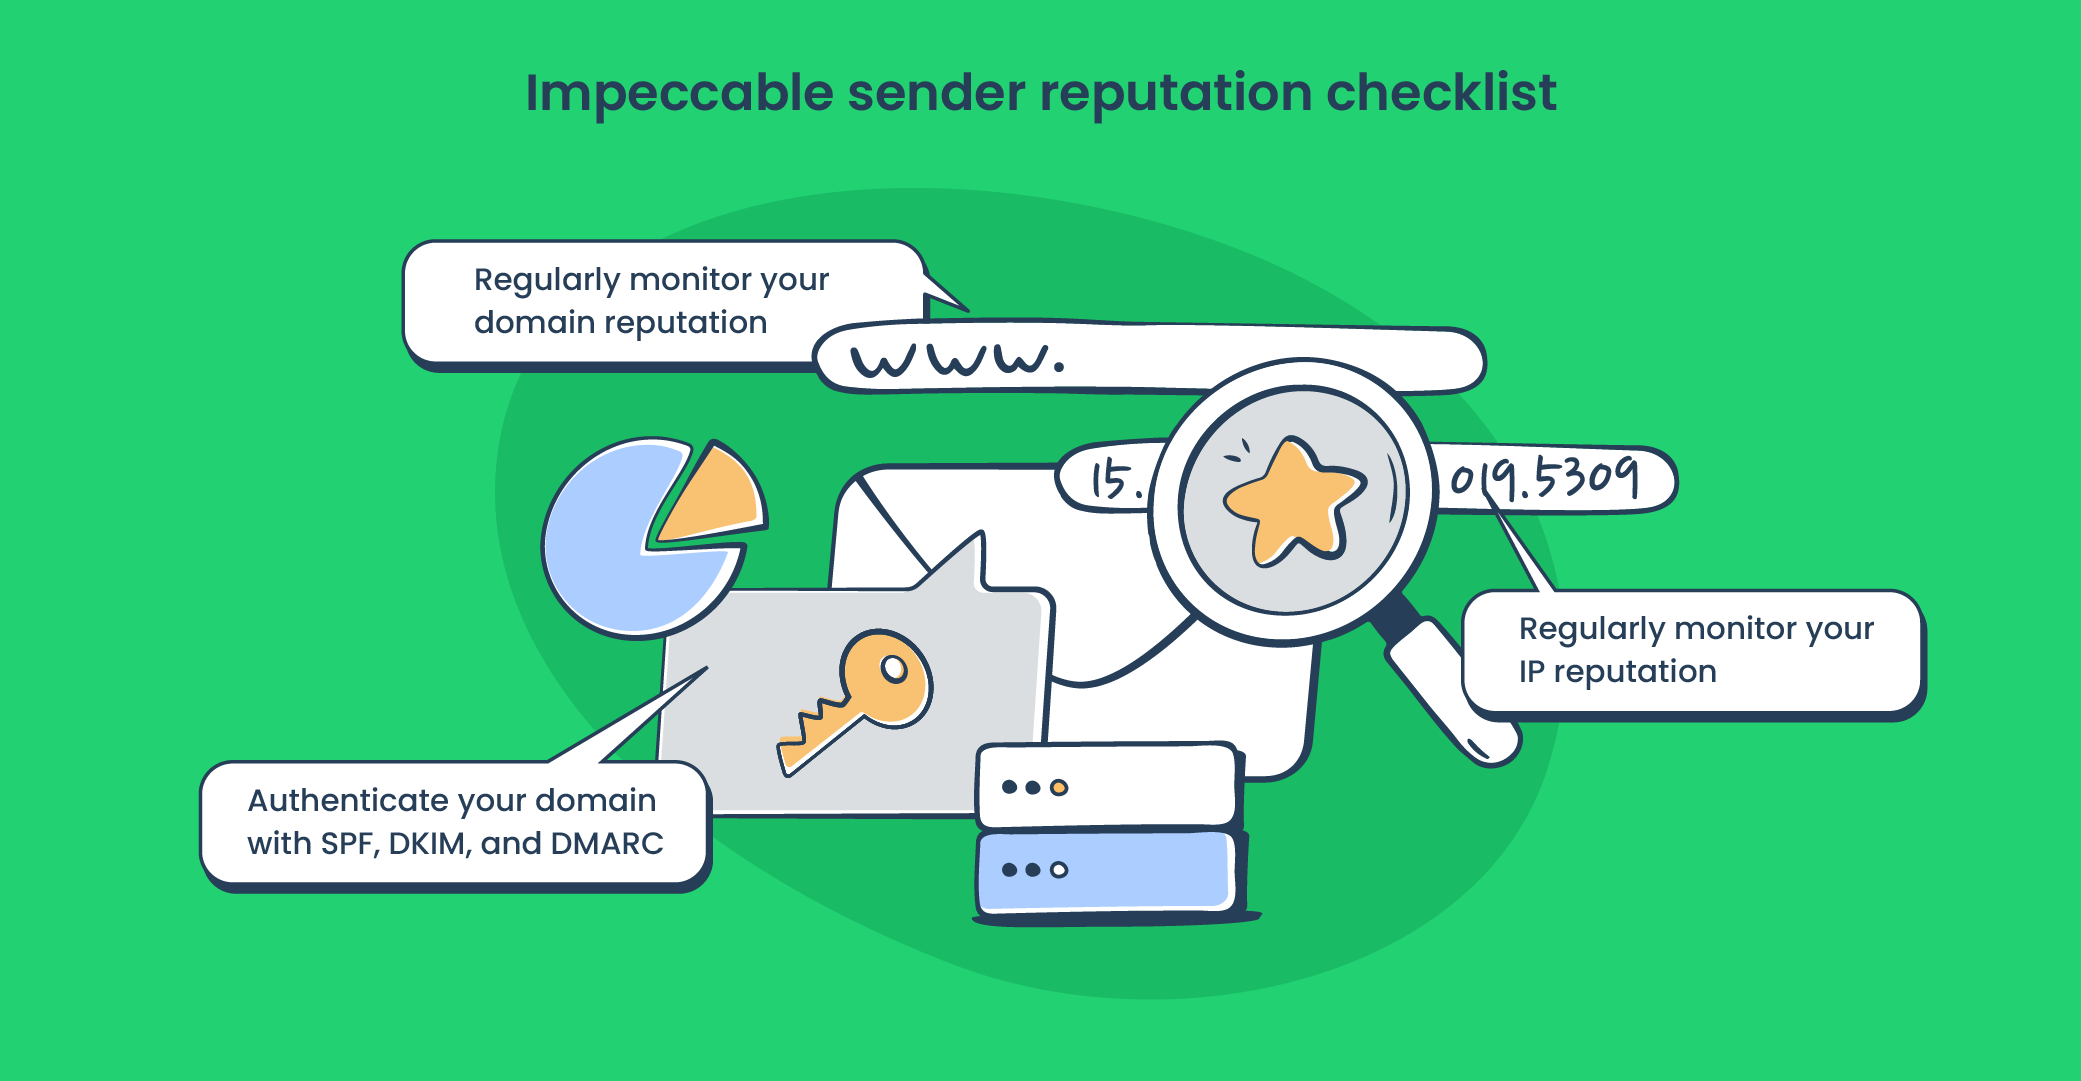
Part 1 – Impeccable sender reputation
Domain reputation
Email filters will assess the domain reputation based on the following metrics:
- Complaint rate – what percentage of emails sent from your domain have been reported as spam by recipients. This is the most critical indicator of your domain reputation and email deliverability in general. A high spam complaint rate is a sign that your email marketing is uncalled-for – it either targets false recipients and an incorrect target audience or delivers poor value. The optimal complaint rate is below 0.1%.
- Inbox placement rate – what percentage of emails sent from your domain have been inboxed. This metric is more accurate than the delivery rate because it counts only inboxed emails. The optimal IPR is above 80%.
- Spam placement rate – what percentage of emails sent from your domain have been trapped in spam. Your goal is to reduce this metric as much as possible. The optimal spam placement rate is below 10%.
- Hard bounce rate – what percentage of emails sent from your domain have bounced back due to an invalid or non-existent recipient address. This metric is more valuable than the soft bounce rate that counts the emails that were rejected as a result of a short-term issue (full mailbox, server down, etc.). The optimal hard bounce rate is below 2%. To learn more about email bounce rates, check out this blog post, and feel free to also dive into what is email bounce and how it relates to email deliverability and infrastructure. Refer to this guide for a detailed explanation of the differences between soft and hard bounces.
Tip: Scan your own domain and read up on the technicals with our free Domain Blocklist Checker tool.
Email authentication
Email authentication is another vital element of your sender reputation. It is a must-have for any legitimate sender to protect the domain against phishing and spoofing. Email authentication rests on four adopted standards:
- Sender Policy Framework (SPF) – validates whether an IP address is authorized to send emails from a particular domain
- DomainKeys Identified Mail (DKIM) – authentication of emails using keys for signature-verification
- Domain-based Message Authentication Reporting and Conformance (DMARC) – email authentication using either or both SPF and DKIM standards
- Brand Indicator for Message Identification (BIMI) – an authentication mechanism that verifies the sender’s identity using the brand’s logo stored as a TXT record in DNS.
You shouldn’t forget about the PTR record either. It’s not an authentication mechanism, but rather a reverse DNS record. With its help, it’s possible to conduct a reverse DNS (rDNS) lookup to find a domain name using the IP address. ISPs use PTR records to verify the sender’s identity. If such a record doesn’t exist, the chances are your marketing emails will be considered junk mail.
IP address reputation
Similar to domain reputation, factors such as sending volume, engagement rates, spam complaint and bounce rates, as well as spam traps, can impact IP address reputation. But the most important parameter here is a blacklist.
Ideally, you shouldn’t be listed in any blocklists from BRBL to ReturnPath. If, for some reason, your IP address gets blacklisted, make sure you follow the official instructions to get out of there. The most common reason behind blacklisting is spam abuse. Legitimate email senders rarely get blacklisted, but it could still happen. Check yours regularly with the help of our free IP Blocklist Checker.
The type of IP address can also have an impact on your reputation. We can differentiate between shared and dedicated IPs.
- Dedicated IP – an IP address used by one sender only. Sending habits of that sender affect the IP reputation.
- Shared IP – an IP address used by multiple senders. The sending habits of each sender affect the IP reputation.
Hence, it is advisable to opt for the dedicated option if your sending volume exceeds 100K emails per month.
A new IP address is like a brand-new car – it needs a break-in period called IP warmup. Most email service providers (ESPs) take care of that task themselves. They restrict the sending volume of new domains and increase it gradually. That way, your bulk or promotional emails aren’t marked as spam.
If you were to send thousands of emails from a dedicated IP without any warmup, the chances are you’d face significant deliverability issues.
Watch our recent video for more details on the use cases and benefits of shared and dedicated IPs.
Tools to check sender’s reputation
- Sender Score by Return Path – a popular tool to assess sender reputation and find out how email service providers view an IP address.
- Send Forensics – lets you check your sender reputation as a whole. It analyzes link quality, sending domain, IP, authentication protocols, as well as the content itself.
- Barracuda Reputation Lookup – a tool to check your IP address and domain based on a real-time database of IP addresses with poor and good reports.
- Email Reputation by Cisco’s Talos – allows you to check your reputation with a three-score ranking: Good, Neutral, and Poor. Neutral and Poor mean that messages sent from the domain or IP address may be filtered or blocked.
Impeccable sender reputation checklist
Part 2 – Polished email content
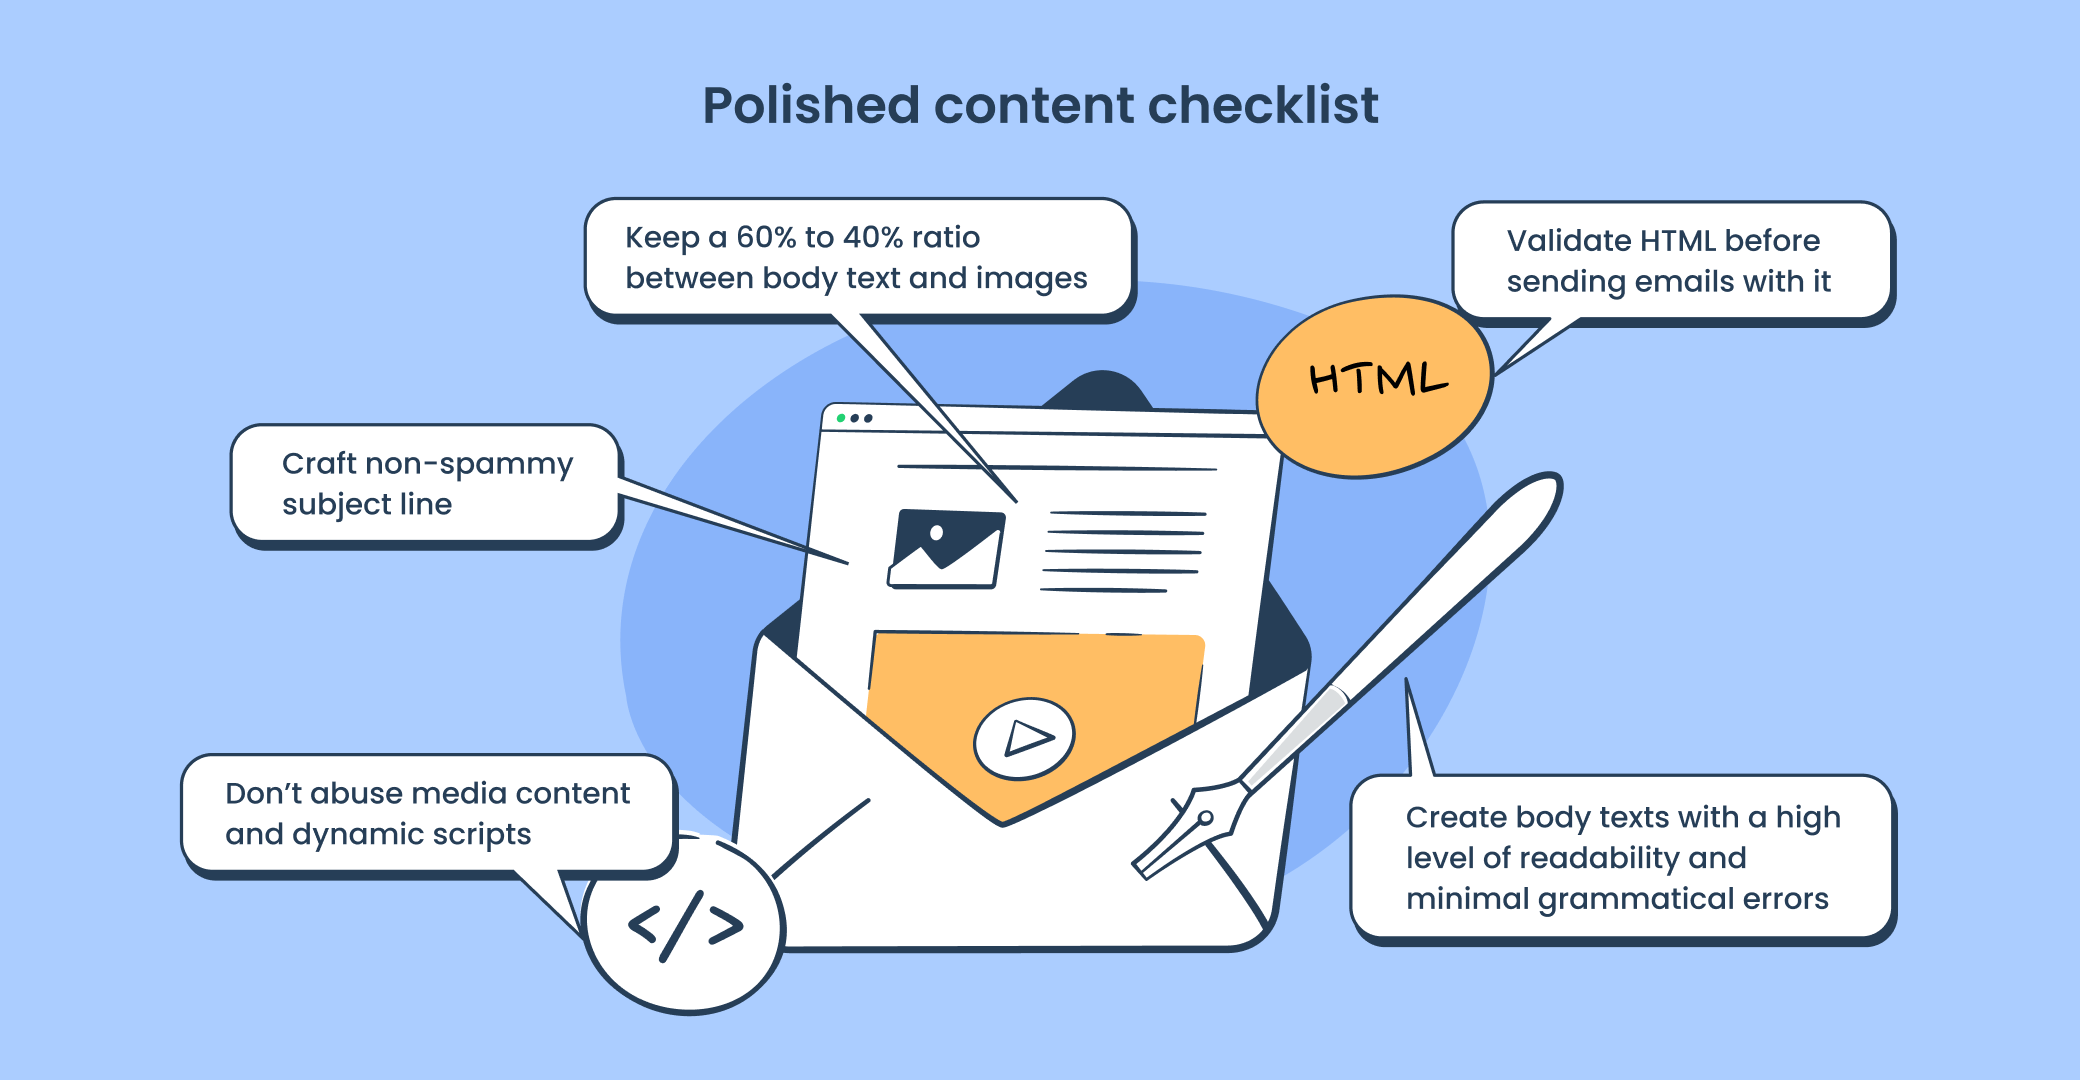
In the earlier days of spam filtering, content used to be the primary target for filters. They would check incoming messages for spam trigger words, keywords, blacklisted links, and other inappropriate elements. Today, the content has a lower level of priority compared to sender reputation, but content filters are still in widespread use.
Let’s break down different portions of email content and see how you can make them spam-proof by avoiding some common email mistakes.
Subject line
- Avoid promotional keywords like buy/sale/discount in subject lines
- Words typed with all capital letters are bad manners
- Exclamation points are no-go
- Focus on what may trigger the recipient’s interest like features or specs of the product/service you promote
- Personalized subject lines can boost the open rate by almost 50%
Pay particular attention to this element of your email campaign. With a weak subject line, you will still be able to pass through spam filters. But a recipient can mark your email as spam which will impair your sender reputation.
Body text
Recipients don’t usually trust email body texts that have poor readability and a bunch of grammatical errors. Besides, content filters may deem your email campaign as junk email if the number of spelling errors in your body text is high enough. Therefore, make sure to check grammar and proofread your body text. You can use an AI sentence rewriter to refine sentences and make your content polished. Readability is also crucial for positive recipient engagement, so mind that too.
If you combine plain text with an image in your email campaign, keep a balanced content ratio of 60% (text) to 40% (images). This is important because spam filters may catch an email if they cannot scan the text due to large images.
HTML
It is a regular practice for email marketers to send multi-part messages that contain both plain text and HTML. The latter lets you improve the engagement of your emails and make the content eye-catching.
And here, you have to be cautious as well. An HTML section that has formatting errors or broken tags is a surefire way to the spam box. Always check your HTML content before sending. We’ll teach you how to do that in a bit.
Images
As we’ve already mentioned, an embedded image shouldn’t exceed 40% of the total message body. It’s reasonable to avoid heavy images altogether. As an alternative, you can compress the image and link to it from your web server or third-party credible services. That way, you’ll decrease the message size and the speed of processing for your email campaigns.
Attachments
An attachment is a red flag for email filters. It can contain malware and viruses, which means filters are more cautious while analyzing it. It’s okay to send relevant attachments with your marketing and transactional emails, such as invoices, for example. However, if it’s not absolutely necessary, it’s recommended to avoid using attachments. Remember that the attachment size also matters; you can learn how to merge PDFs with Windows to avoid getting spammed if you exceed the attachment size limit.
Media content
Abuse of media content in your email campaign increases the spamminess of your message. Besides, it reduces the recipient’s engagement. If there are some media your campaign can’t do without, add a link to it. Also, avoid dynamic scripts – spam filters won’t let them in.
Tools to check email content
There are multiple tools that will help you check various portions of your email content. Services such as HTML Email Check or PutsMail by Litmus will help you validate the HTML content. Email Subject Line Grader or Send Check It can be used for testing the subject line. Meanwhile, you can check readability and grammar using tools such as Hemingway Editor and Grammarly.
If you don’t want to invest in a dedicated tool, some email marketing services and ESPs also have in-built tools to help you with content validation.
You’ll find more recommendations on email testing tools here.
Polished email content checklist
Part 3 – Engaged recipient
Engagement metrics
If you want high-level deliverability, make sure your recipients are engaged. Intricate email filters do assess engagement, which comprises the following metrics:
- Open rate – what percentage of recipients opened your emails
- Click-through rate – what percentage of recipients clicked on at least one link in your email campaign
- Conversion rate – what percentage of recipients completed the desired conversion goal
- Unsubscribe rate – what percentage of recipients unsubscribed from your marketing communications
Email formatting
- An email should open correctly in most clients and devices. Preview your emails with dedicated tools to check this.
- An email should load fast. Avoid large images and dynamic scripts.
- Embedding forms are also a red flag for spam filters. It’s better to replace embedded forms with a link or a CTA button.
- Make sure the message is free of broken links.
- Do not abuse colors and fonts. Email filters take into account irregular font colors and sizes, as well as invisible text. Even if a message with abused text design passes through spam filters, a recipient is likely to send it to the spam folder manually.
Email branding
- Include the sender name in your ‘from’ address and header. This reduces the spam complaints rate and increases open rate. Also, it is a good practice to use a front person as an email campaign sender. In this case, add “from <your brand>” to the header to increase credibility. For example, Andriy from Mailtrap.
- You can brand other elements of your email campaign including subject lines, headers, and even links. This is good for building recognition and sorting the email by folders.
- The design and content of your email campaign should be in line with your brand. Also, visual branding is best when it is consistent with the buyer personas you’re aimed at.
You can learn more about email content branding in this video from the Mailtrap YouTube channel:
Follow-ups
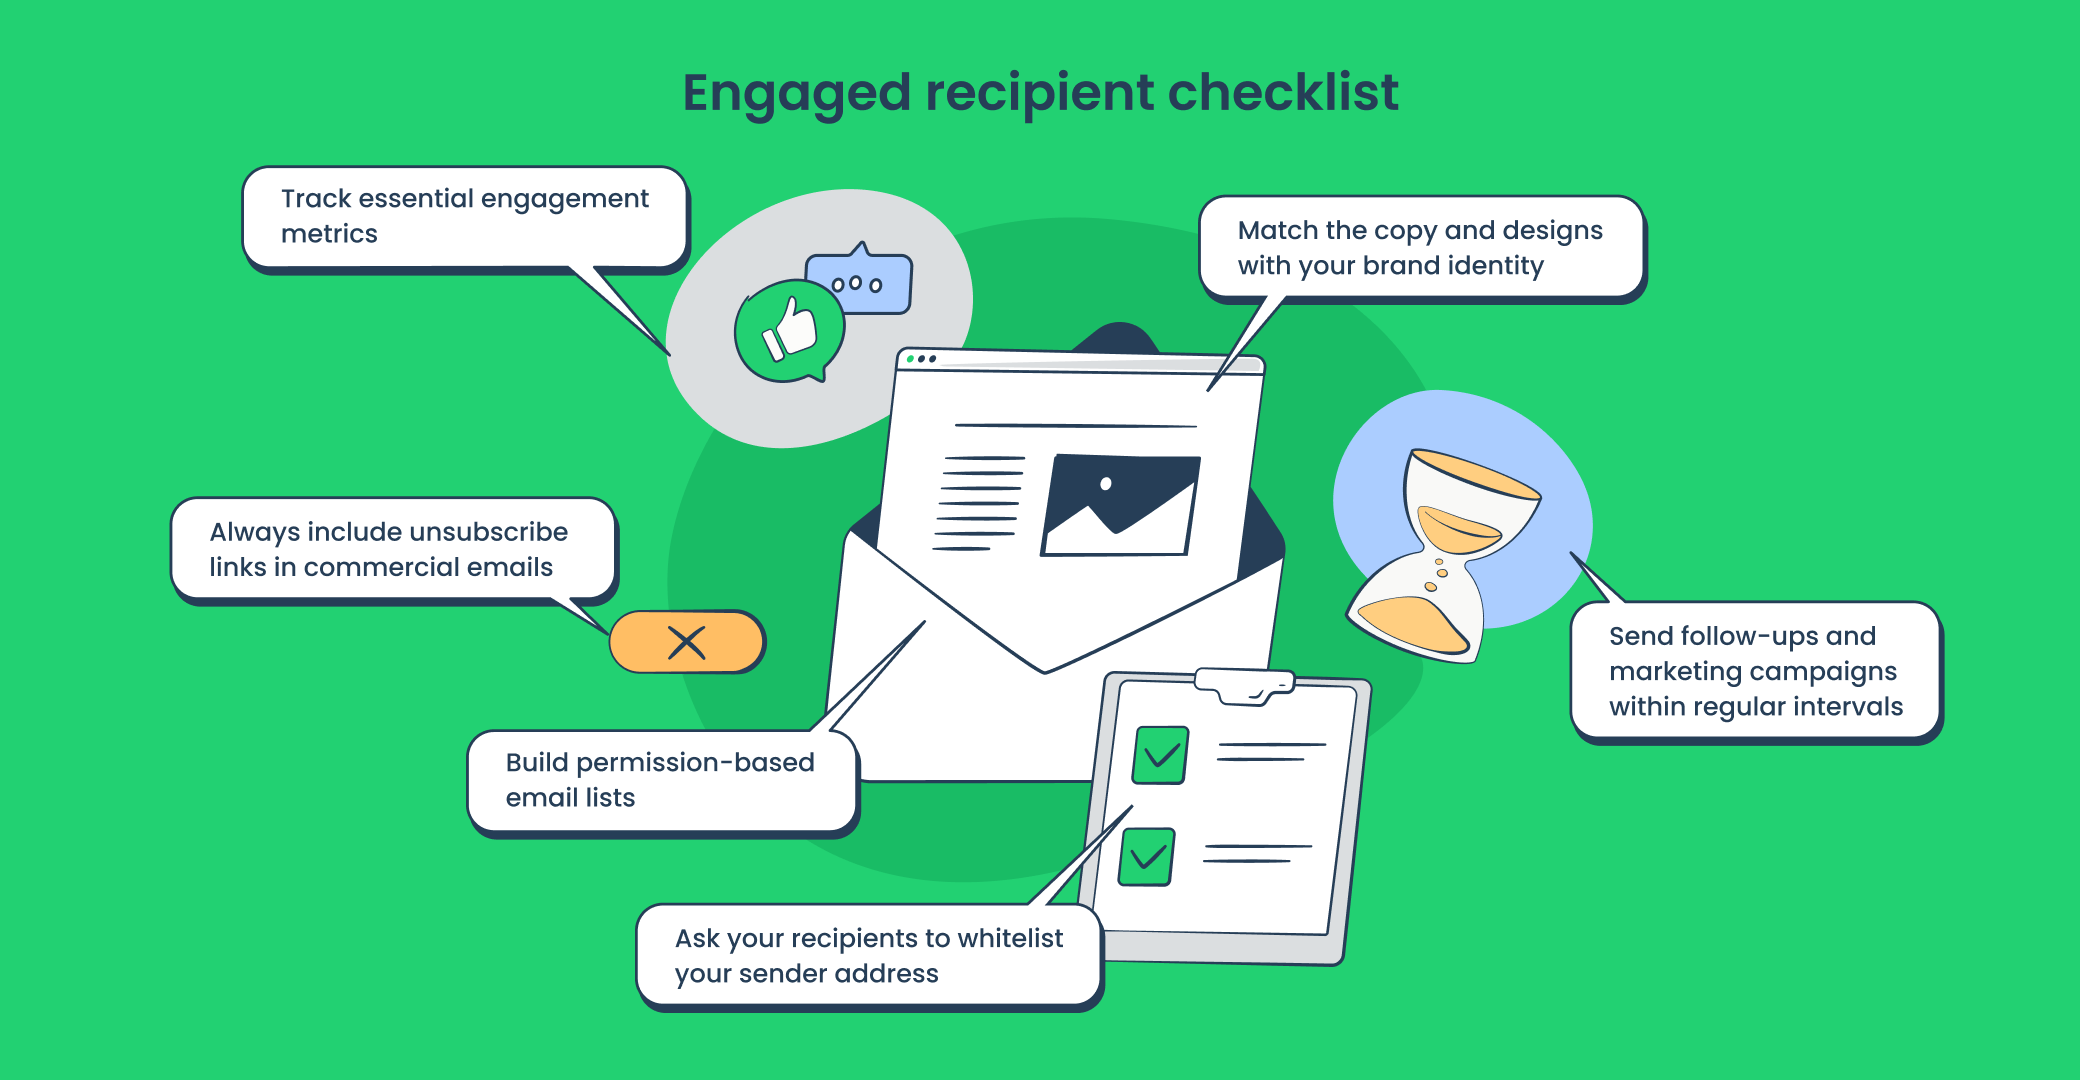
Follow-up is another way to earn the credibility of email filters. When you follow up with your recipients, you show that you want to engage them. But the balance is important here. Massive email attacks within short periods are suspicious and can lead to the spam folder. So around once a week or two (depending on your activity) for a follow-up would be reasonable. Try to maintain consistency and schedule marketing campaings/follow-ups within regular intervals.
Whitelisting
Generally, emails coming from the addresses that are in the recipients’ contacts are less likely to be flagged as spam.
So, if you’re struggling to reach inboxes, you could ask your recipients to whitelist your main sender addresses. Don’t forget to include the instructions right in the email. They won’t bother to do you a favor unless it requires little to no effort.
Email lists
None of the steps we’ve mentioned will be helpful, unless you build permission-based email lists. You have to ask your recipients for consent to receive marketing emails. These can be included as a simple checkbox in sign-up forms or e-book download forms. Where you ask them doesn’t really matter – the main thing is to get explicit permission.
Double opt-in has now turned into an industry standard. It involves sending a confirmation email after the user consents to marketing communication. Double opt-in eliminates accidental consent and leaves you with a high-quality list of interested contacts. Before sending these emails, using an email verifier further ensures that addresses are valid and reduces bounce rates, keeping your list clean and effective.
Unsubscribe link
To ensure your emails land in inboxes, including an unsubscribe link or a button in every commercial email is essential. This isn’t just an industry best practice, but rather a legal requirement. CAN-SPAM act obliges every sender to disclose the purpose of the email and give the recipients the right to unsubscribe. Similar regulations are present in CASL, GDPR, and other privacy protection and spam laws.
Keep in mind that unsubscribe links should be easily accessible and in working condition.
It’s better to have fewer email recipients than have a list of a thousand contacts that don’t care about your content. Plus, if they don’t find any other way to unsubscribe, then they’ll most likely mark your emails as spam.
Engaged recipient checklist
Part 4 – Robust email infrastructure
Finally, you can’t forget about your email infrastructure. Whether it’s about email sending or testing, you’ll need a reliable provider. Ideally, you should opt for one platform that combines both solutions. That way, you won’t have to switch between different tools to satisfy your email-related needs.
When you finish with the testing, you can use Mailtrap Email API/SMTP to help you reach your recipients’ inboxes just in time.
Thanks to its robust infrastructure and in-depth Actionable Analytics features, you get the chance to stay in charge of your deliverability metrics. Helicopter-view dashboards contain information about open rates, CTR, bounce rates, and spam complaint rates. Drill-down reports provide detailed statistics for all major mailbox providers and categories you created.

Our Email API/SMTP solution has critical alerts if any unexpected sending issues occur and your metrics start dropping unexpectedly. So, you always know what’s up with your infrastructure and can take measures quickly and efficiently.
That’s all. Now that you know how to stop emails going to spam, you can easily defeat the Evil Prince Spam Folder. Good luck in your upcoming battles 🗡️


