

In this article, I break down my email-sending flow with Gomail, a super straightforward package for Golang. Of course, I’ve made sure to include code snippets ready for use.
I’ll also cover debugging so you can make sure your code is working perfectly after following this guide.
How to install Gomail
If you haven’t already, make sure to download Go 1.2 or newer from the official website.
Then, proceed to install Gomail by running the following command in your terminal:
go get gopkg.in/mail.v2Then, you can include it in your project or application with the following code:
import gomail "gopkg.in/mail.v2"Useful links:
How to send email using Gomail and SMTP
For starters, let’s send a plain text message. Here’s a code snippet you can paste into your main configuration file (e.g., main.go):
package main

import (
    "fmt"
    gomail "gopkg.in/mail.v2"
)

func main() {
    // Create a new message
    message := gomail.NewMessage()

    // Set email headers
    message.SetHeader("From", "youremail@email.com")
    message.SetHeader("To", "recipient1@email.com")
    message.SetHeader("Subject", "Hello from the Mailtrap team")

    // Set email body
    message.SetBody("text/plain", "This is the Test Body")

    // Set up the SMTP dialer
    dialer := gomail.NewDialer("live.smtp.mailtrap.io", 587, "api", "1a2b3c4d5e6f7g")

    // Send the email
    if err := dialer.DialAndSend(message); err != nil {
        fmt.Println("Error:", err)
        panic(err)
    } else {
        fmt.Println("Email sent successfully!")
    }
}
To run the script, simply execute go run.main.go.
Code breakdown:
NewDialer– Initiates a new SMTP connection, specifying the mail server address, port number, and credentials (username and password) to authenticate (auth) the sender.NewMessage– Creates a new email message you can customize.SetHeader– Sets specific headers such as “From”, “To”, and “Subject,” defining the sender, recipient, and subject line.SetBody– Defines the content of the email body, which is plain text in this example.DialAndSend– Establishes a connection and sends the email.
Also, as you can notice, I’m using Mailtrap SMTP, a reliable SMTP with robust sending capabilities that ensures my emails reach recipients’ inboxes. It has a high sending throughput and comes with in-depth analytics, dedicated IPs, and other features that help me optimize my email infrastructure.
Oh, and yes, there’s a free plan that lets you try all these features out, so be sure to check it out!
Send HTML email
Sending an HTML email with Gomail is super easy as all you have to do is modify the SetBody method by changing the MIME type from “text/plain” to “text/html”:
For example:
package main

import (
    "fmt"
    gomail "gopkg.in/mail.v2"
)

func main() {
    // Create a new message
    message := gomail.NewMessage()

    // Set email headers
    message.SetHeader("From", "youremail@email.com")
    message.SetHeader("To", "recipient1@email.com")
    message.SetHeader("Subject", "Hello from the Mailtrap team")

    // Set email body to HTML format
    message.SetBody("text/html", `
        <html>
            <body>
                <h1>This is a Test Email</h1>
                <p><b>Hello!</b> This is a test email with HTML formatting.</p>
                <p>Thanks,<br>Mailtrap</p>
            </body>
        </html>
    `)

    // Set up the SMTP dialer
    dialer := gomail.NewDialer("live.smtp.mailtrap.io", 587, "api", "1a2b3c4d5e6f7g")

    // Send the email
    if err := dialer.DialAndSend(message); err != nil {
        fmt.Println("Error:", err)
        panic(err)
    } else {
        fmt.Println("HTML Email sent successfully!")
    }
}
Pro tips:
- I recommend writing your HTML code within the string passed to
SetBody. - To ensure better readability for multiline HTML content, enclose the HTML in backticks (`).
- Another common practice is to attach a plain text version of your HTML message, just in case some of your recipients’ clients don’t support HTML.
- For this, you can use the
AddAlternativefunction:
- For this, you can use the
m.SetBody( "text/html", "<p>Hello!</p>")

m.AddAlternative("text/plain", "Hello!")
Send email to multiple recipients
If you have multiple recipients, simply add their addresses in the “To” field under the SetHeader method. Of course, don’t forget to separate them with commas.
Check it out:
package main

import (
    "fmt"
    gomail "gopkg.in/mail.v2"
)

func main() {
    // Create a new message
    message := gomail.NewMessage()

    // Set email headers with multiple recipients
    message.SetHeader("From", "youremail@email.com")
    message.SetHeader("To", "abc@gmail.com", "xyz@gmail.com", "123@gmail.com")  // Multiple recipients
    message.SetHeader("Subject", "Test Email to Multiple Recipients")

    // Set email body
    message.SetBody("text/html", `
        <html>
            <body>
                <h1>This is a Test Email</h1>
                <p><b>Hello!</b> This is a test email sent to multiple recipients.</p>
                <p>Thanks,<br>Mailtrap</p>
            </body>
        </html>
    `)

    // Set up the SMTP dialer
    dialer := gomail.NewDialer("live.smtp.mailtrap.io", 587, "api", "1a2b3c4d5e6f7g")

    // Send the email
    if err := dialer.DialAndSend(message); err != nil {
        fmt.Println("Error:", err)
        panic(err)
    } else {
        fmt.Println("Email sent successfully to multiple recipients!")
    }
}
Additionally, you can use the Cc and Bcc to send carbon copy or blind carbon copy emails, like so:
message.SetHeader("Cc", "ccperson@example.com")
message.SetHeader("Bcc", "bccperson@example.com")
Send email with attachments
When it comes to attachments, Gomail is really hard not to appreciate. To add an attachment to your email, just move the image/document to your project folder and specify its name under the Attach method.
Let’s say we want to add an invoice to our email. Simply copy the invoice#1.pdf, and specify its filename in the code, like so:
package main

import (
    "fmt"
    gomail "gopkg.in/mail.v2"
)

func main() {
    // Create a new message
    message := gomail.NewMessage()

    // Set email headers
    message.SetHeader("From", "youremail@email.com")
    message.SetHeader("To", "abc@gmail.com")
    message.SetHeader("Subject", "Test Email with Attachment")

    // Set email body
    message.SetBody("text/html", `
        <html>
            <body>
                <h1>This is a Test Email</h1>
                <p><b>Hello!</b> Please find the attachment below.</p>
                <p>Thanks,<br>Mailtrap</p>
            </body>
        </html>
    `)

    // Add attachments
    message.Attach("/invoice#1.pdf")

    // Set up the SMTP dialer
    dialer := gomail.NewDialer("live.smtp.mailtrap.io", 587, "api", "1a2b3c4d5e6f7g")

    // Send the email
    if err := dialer.DialAndSend(message); err != nil {
        fmt.Println("Error:", err)
        panic(err)
    } else {
        fmt.Println("Email sent successfully with attachments!")
    }
}
Send email with embedded image
If you want to display an image inline rather than as an attachment, you can use the Embed() method, which attaches it directly within the email body.
Here’s a code snippet you can use:
package main

import (
    "fmt"
    gomail "gopkg.in/mail.v2"
)

func main() {
    // Create a new message
    message := gomail.NewMessage()

    // Set email headers
    message.SetHeader("From", "youremail@email.com")
    message.SetHeader("To", "abc@gmail.com")
    message.SetHeader("Subject", "Test Email with Embedded Image")

    // Embed image and set email body to reference the embedded image
    message.Embed("/path/to/image.jpg", "image123")

    message.SetBody("text/html", `
        <html>
            <body>
                <h1>Test Email with Embedded Image</h1>
                <p><b>Hello!</b> This email contains an embedded image:</p>
                <img src="cid:image123" alt="Embedded Image">
                <p>Thanks,<br>Mailtrap</p>
            </body>
        </html>
    `)

    // Set up the SMTP dialer
    dialer := gomail.NewDialer("live.smtp.mailtrap.io", 587, "api", "1a2b3c4d5e6f7g")

    // Send the email
    if err := dialer.DialAndSend(message); err != nil {
        fmt.Println("Error:", err)
        panic(err)
    } else {
        fmt.Println("Email sent successfully with an embedded image!")
    }
}
Asynchronous email sending
As it’s synchronous by nature, Gomail isn’t really the best bet for sending multiple emails concurrently. However, goroutines, a lightweight thread managed by Go, allows us to get past this by calling go sendAsyncEmail(recipient, dialer).
Check out how it works:
package main

import (
    "fmt"
    "gopkg.in/mail.v2"
    "time"
)

func sendAsyncEmail(recipient string, dialer *mail.Dialer) {
    // Create a new message
    message := mail.NewMessage()

    // Set email headers
    message.SetHeader("From", "your.email@example.com")
    message.SetHeader("To", recipient)
    message.SetHeader("Subject", "Async Email Example")
    message.SetBody("text/plain", "This is an asynchronously sent email!")

    // Send email
    if err := dialer.DialAndSend(message); err != nil {
        fmt.Println("Error sending email:", err)
    } else {
        fmt.Println("Email sent to:", recipient)
    }
}

func main() {
    // Configure the SMTP dialer
    dialer := mail.NewDialer("live.smtp.mailtrap.io", 587, "username", "password")

    // List of recipients
    recipients := []string{"recipient1@example.com", "recipient2@example.com", "recipient3@example.com"}

    // Loop over the recipient list and send emails asynchronously
    for _, recipient := range recipients {
        go sendAsyncEmail(recipient, dialer) // Send email in a separate goroutine
    }

    // Wait for all emails to be sent
    time.Sleep(5 * time.Second) // This gives enough time for goroutines to finish before exiting
}
Send bulk emails
When it comes to bulk emails, the situation with Gomail is the same as for asynchronous sending and we have to use goroutines.
Here’s a code snippet:
package main

import (
    "fmt"
    "gopkg.in/mail.v2"
    "sync"
    "time"
)

func sendAsyncEmail(recipient string, dialer *mail.Dialer, wg *sync.WaitGroup, throttle <-chan time.Time) {
    defer wg.Done() // Notify that this goroutine is done

    // Wait for the throttle to allow sending
    <-throttle

    // Create a new message
    message := mail.NewMessage()

    // Set email headers
    message.SetHeader("From", "your.email@example.com")
    message.SetHeader("To", recipient)
    message.SetHeader("Subject", "Async Email Example")
    message.SetBody("text/plain", "This is an asynchronously sent email!")

    // Send email
    if err := dialer.DialAndSend(message); err != nil {
        fmt.Println("Error sending email:", err)
    } else {
        fmt.Println("Email sent to:", recipient)
    }
}

func main() {
    // Configure the SMTP dialer
    dialer := mail.NewDialer("bulk.smtp.mailtrap.io", 587, "username", "password")

    // List of recipients (e.g., bulk list)
    recipients := []string{"recipient1@example.com", "recipient2@example.com", "recipient3@example.com"}

    // Create a WaitGroup to wait for all emails to be sent
    var wg sync.WaitGroup

    // Throttle to control the rate of email sending (1 email per second)
    throttle := time.Tick(1 * time.Second)

    // Loop over the recipient list and send emails asynchronously
    for _, recipient := range recipients {
        wg.Add(1)
        go sendAsyncEmail(recipient, dialer, &wg, throttle) // Send email in a separate goroutine
    }

    // Wait for all goroutines to finish
    wg.Wait()
    fmt.Println("All emails have been sent.")
}Notes:
- As opposed to the snippet from the previous chapter, we use
sync.WaitGroupinstead oftime.Sleepso our app can perform under a heavier load. - I’ve also added throttle control
<-throttleso you can choose how long the intervals between each email are going to be. - Technically, you could also implement a retry logic with the
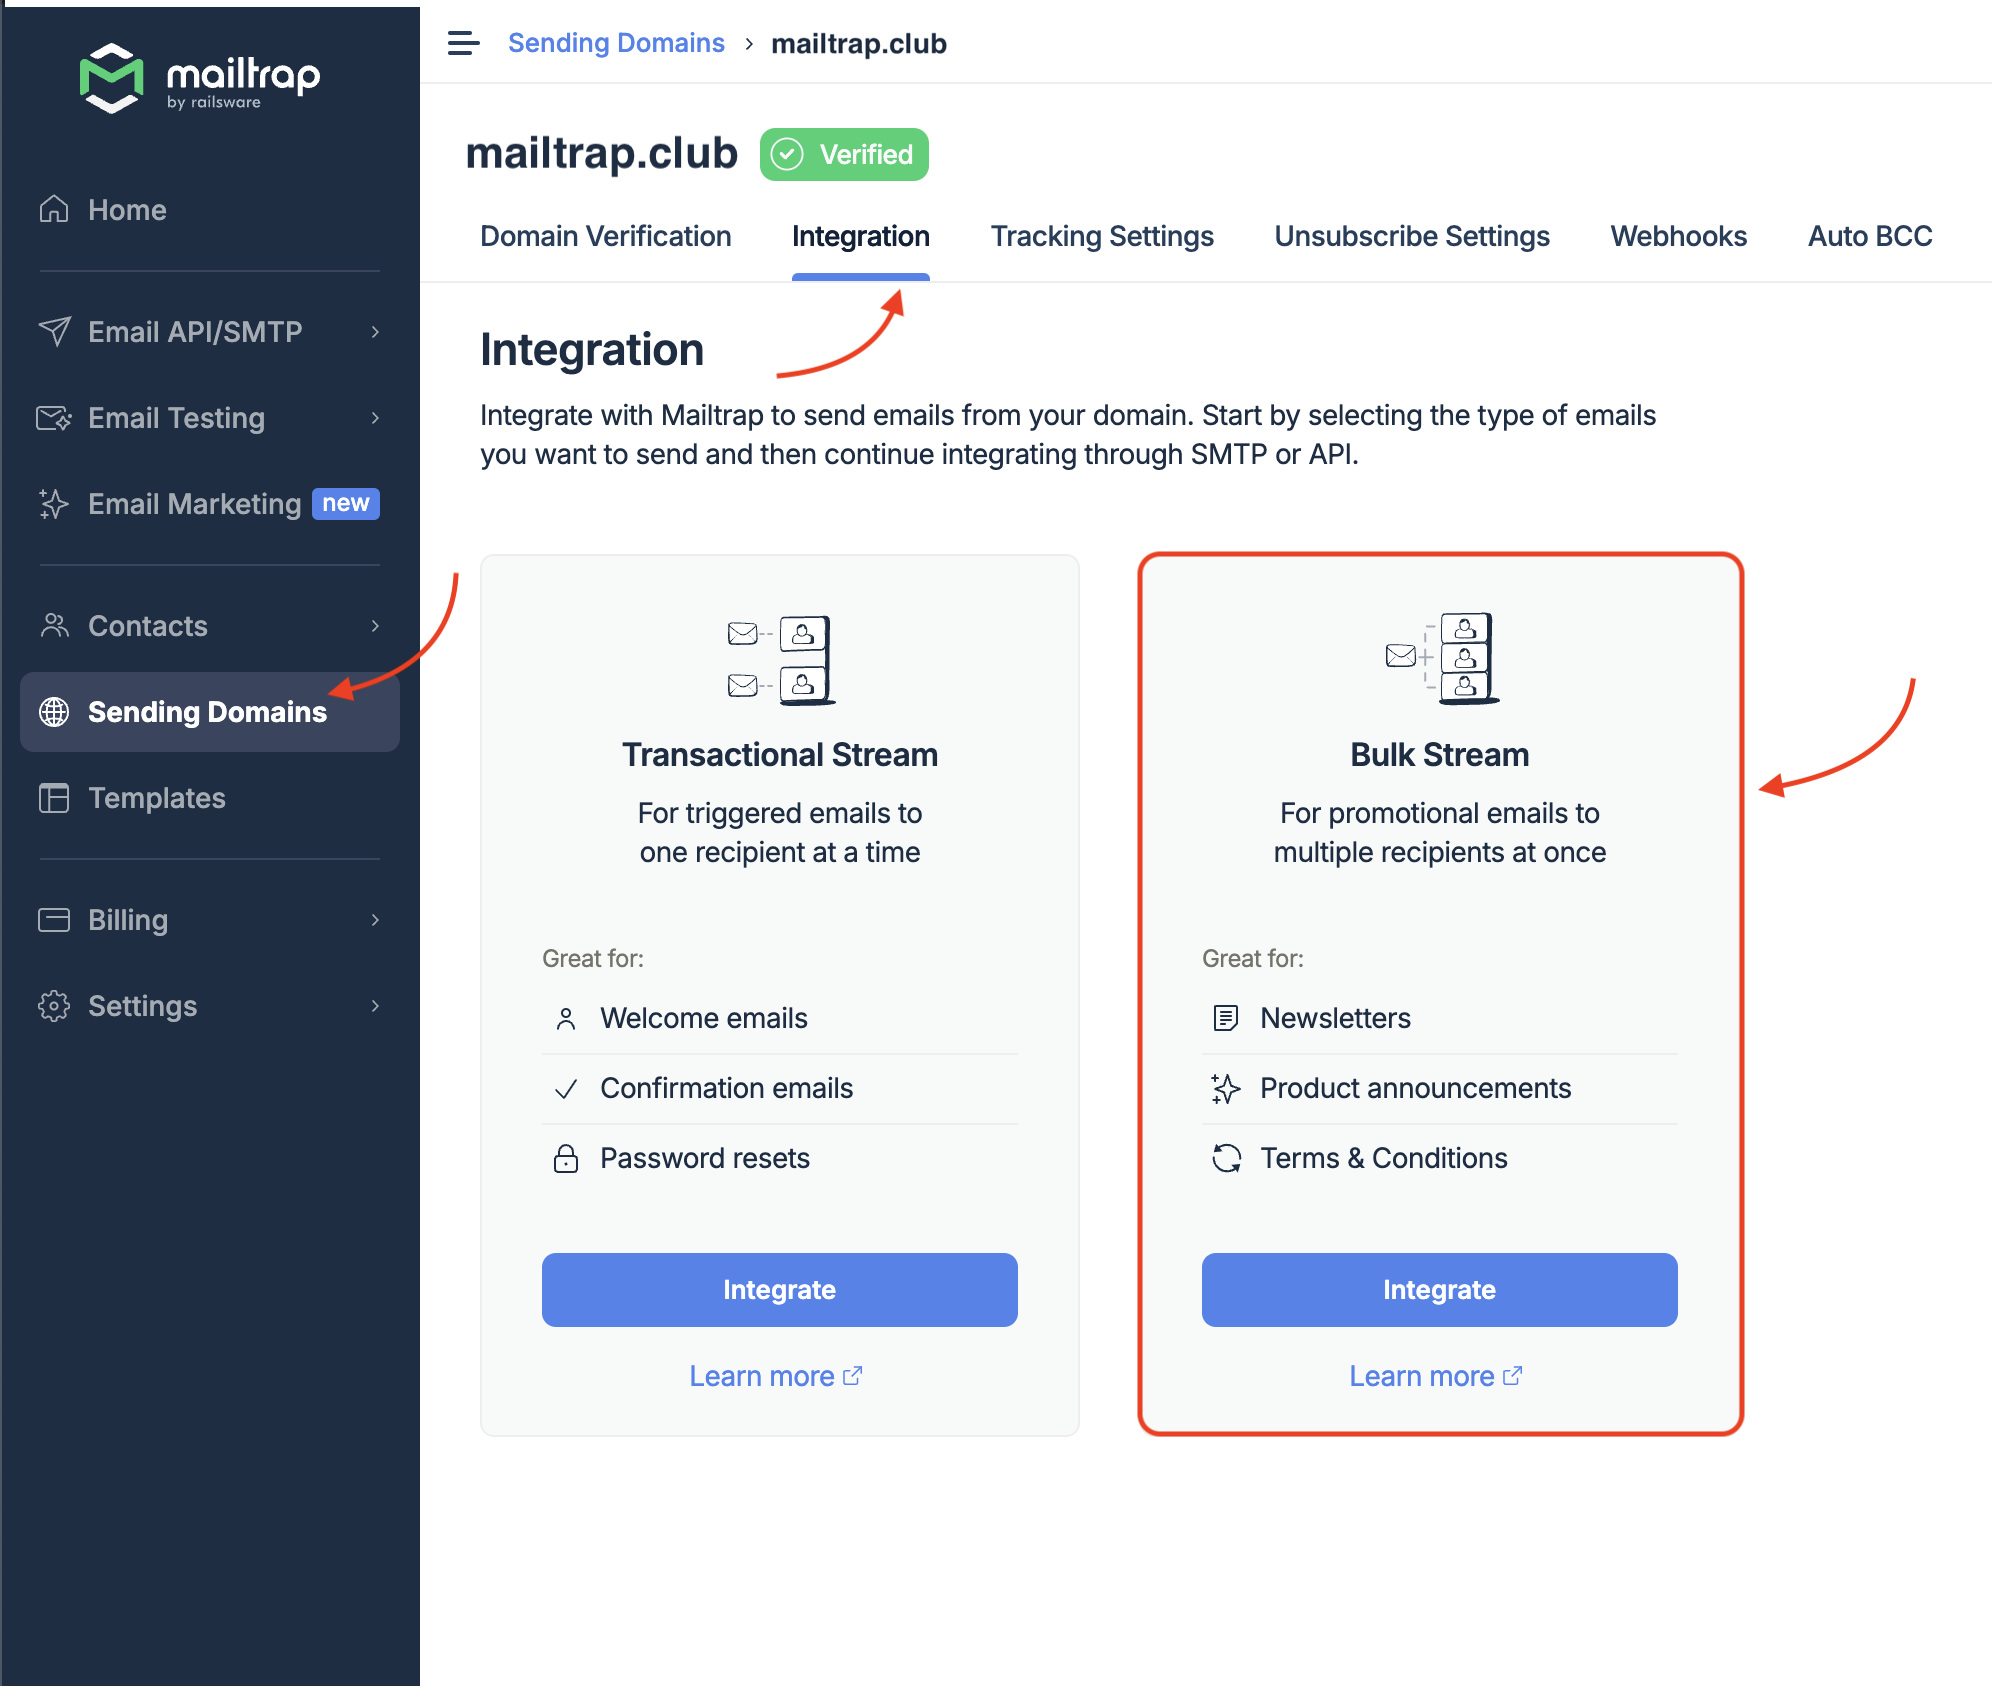
sendEmailWithRetryfunction by wrapping it aroundDialAndSend. However, be careful with it as too many retried attempts might negatively affect your sender reputation and overall deliverability. - Lastly, I’ve used Mailtrap Bulk Stream, which provides me with a dedicated stream for sending large amounts of emails while keeping my deliverability high.
Also, if your focus is on bulk sending, I should probably mention that Mailtrap has a bulk-aware email API. With it, you can send customized HTML emails to 1,000,000 recipients with a single API call. Most importantly, it will compile the information into emails itself!
Gomail debugging
Done coding? Better not pack up, cause now I’ll show you the most common approaches to debugging in Gomail. ⚒️
- Error handling and logging using the
fmt.Println()statement
The simplest way to ensure your Gomail code is working correctly is to use the fmt.Println() statement. As you might have noticed, I’ve added it to all of the code blocks throughout this article to make it a bit easier for you.
Nonetheless, here’s a dissected snippet for you to inspect:
// Add error logging here for better debugging
    if err := dialer.DialAndSend(message); err != nil {
        fmt.Println("Failed to send email:", err)
        // You can add more logging or error handling here if needed
    } else {
        fmt.Println("Email sent successfully!")
}- Setting the Debug mode in dialer
There’s also the Debug field provided by Gomail. You can use it to pass io.Writer (e.g., os.Stdout) and print SMTP communications, which makes it easy to see what’s going on under the hood.
For example:
import "os"

dialer := gomail.NewDialer("live.smtp.mailtrap.io", 587, "api", "1a2b3c4d5e6f7g")
dialer.Debug = os.Stdout // Prints out the SMTP session communication- Checking the SMTP configuration
Although it’s not really a debugging method, I have to mention that if you’re facing issues and errors when trying to send emails, you should always check the SMTP configuration.
Personally, not rarely have I failed to enter my credentials correctly and input the correct port number (looking at you, port 597 🫠).
Additionally, you can log the SMTP details to make sure they’re correct:
fmt.Printf("Using SMTP Server: %s, Port: %d, Username: %s\n", smtp_server, port, login)- “X509: certificate signed by unknown authority”
If you’re seeing this error, the client running Gomail is likely not considering the SMTP server’s certificate to be valid. A simple fix would be to use SetTLSConfig and bypass the server’s certificate chain:
package main

import (
	"crypto/tls"

	"gopkg.in/gomail.v2"
)

func main() {
	d := gomail.NewDialer("smtp.example.com", 587, "user", "123456")
	d.TLSConfig = &tls.Config{InsecureSkipVerify: true}

    // Send emails using d.
}
Wrapping up
Sending emails with Gomail really is the definition of short and sweet!
However, if you want to sweeten things up a bit more, make sure to leverage Mailtrap’s sending capabilities, ensuring your emails land where you want them to: recipients’ primary folders. 📬
