Skip to Navigation


How do you know that outgoing emails from your app or website actually end up in the recipient’s mailbox? Usually, testing helps. There are a few aspects that need to be checked and actionable email testing tools are available for each of them. Today we’re going to review a tool for testing the email sending capability. It’s called MailHog, and you may consider using it for your project. But, is it really worth a shot? Let’s find out!
What is MailHog and why might you need it?
MailHog is an email-testing tool with a fake SMTP server underneath. It encapsulates the SMTP protocol with extensions and does not require specific backend implementations. MailHog runs a super simple SMTP server that hogs outgoing emails sent to it. You can see the hogged emails in a web interface. MailHog is a portable tool built with Golang. You can run it on any supported platform, and Golang binary files allow you to set it up very simply – just copy and launch.
What is it for?
MailHog is designed for app developers. They can use this tool to test the app’s email sending more efficiently. Unlike a real SMTP server, a fake one avoids issues related to server configuration or anything like that. MailHog just lets you send emails to any recipient and stores them for display. Also, you can view the hogged emails using the web UI, or retrieve them using an API for automated testing. Let’s check out what else is available with this email-testing tool.
MailHog features
- Portability is one of the major advantages of MailHog
- It is a lightweight tool that you do not have to install
- MailHog supports ESMTP, as well as SMTP AUTH and PIPELINING
- You can use HTTP API to list, retrieve and delete messages
- Real-time updates using EventSource are available
- The hogged emails are persisted in MongoDB or stored in memory
- You can download individual MIME parts
- MailHog provides a web UI to view emails (multipart MIME and encoded headers are supported)
- HTTP basic authentication for MailHog Web UI and API
MailHog setup
Above we said that MailHog is a tool that does not need to be installed. At the same time, you still have to download it and set it up. There are a few ways of doing this.
Download MailHog from GitHub
Find the MailHog release that matches your platform and download it from GitHub. Now you can run it with no external dependencies. For example, this is how it looks on Windows.
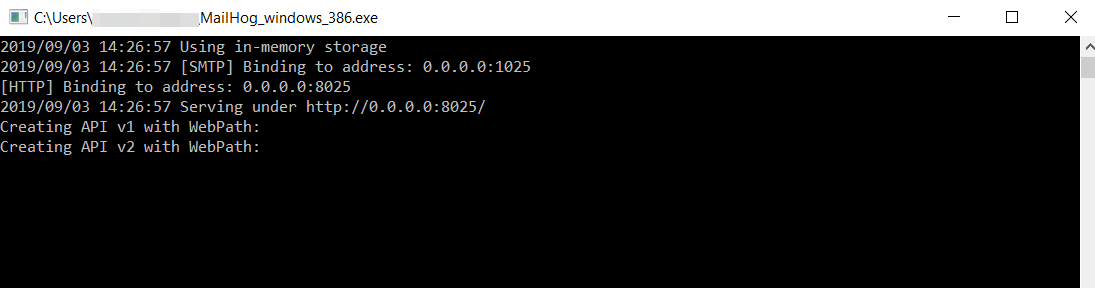
What it says is that MailHog runs on the localhost and listens on the SMTP port 1025 and HTTP port 8025. But where is the web interface here? Enter 127.0.0.1:8025 or localhost:8025 in your browser and there you go!

Set up MailHog using Docker
This is the most cross-platform way to set up MailHog. You need to have Docker installed on your machine and run the following command:
docker run -d -p 1025:1025 -p 8025:8025 mailhog/mailhogAccording to this command you:
- Run a Docker container in the background (-d)
- Expose MailHog’s SMTP interface locally (-p 1025:1025)
- Expose MailHog’s web interface and API locally (-p 8025:8025)
Once again, enter 127.0.0.1:8025 or localhost:8025 in your browser to use the web interface.
Docker Compose
Compose is a tool to run multi-container Docker apps. Here, you’ll be using a YAML file to configure services for your application. To set up MailHog with this tool, create docker-compose.yml and paste the lines from:
version: "3"
services:
  mailhog:
    image: mailhog/mailhog:latest
    restart: always
    ports:
      - 1025:1025
      - 8025:8025
Execute docker-compose up -d mailhog This will create and start the container. If the MailHog image does not exist, Docker will download it automatically.
Set up MailHog using Homebrew
Mac owners can set up MailHog using Homebrew. Run the following command in the terminal:
brew install mailhogThen start MailHog with:
brew services start mailhogThis will launch MailHog and restart it at login. If you don’t need a background service, you can just run:
mailhogSet up MailHog using a Golang package
First, you need to install Golang. Here you’ll find several options for how to do this, depending on your platform. Now you can install MailHog with:
go get github.com/mailhog/MailHogAfter that, you can start the tool by executing:
mailhog \
  -api-bind-addr 127.0.0.1:8025 \
  -ui-bind-addr 127.0.0.1:8025 \
  -smtp-bind-addr 127.0.0.1:1025
What is mhsendmail?
mhsendmail is a sendmail replacement for MailHog. It ensures that emails will be sent using localhost:1025 as the SMTP server, which is supposed to be handled by MailHog. You may need this feature for your testing activities. The sole benefit of using mhsendmail is that you cannot mess up SMTP server settings and accidentally send something outside your machine. So, make sure to install it as well:
- Download from Github here and then make it available in your system path. For example, this is how it looks in Ubuntu:
wget https://github.com/mailhog/mhsendmail/releases/download/v0.2.0/mhsendmail_linux_amd64
sudo chmod +x mhsendmail_linux_amd64
sudo mv mhsendmail_linux_amd64 /usr/local/bin/mhsendmail- For Golang:
go get github.com/mailhog/mhsendmail- For Homebrew and Docker:
First, you need to install Go with the following Homebrew command.
brew install goNow you can proceed with installing mhsendmail
go get github.com/mailhog/mhsendmailHaving installed it, you need to connect your app to MailHog and set it to use mhsendmail instead of sendmail. For example, this is how it looks in the php.ini file.
sendmail_path = /usr/local/bin/mhsendmailYou can try to send a message from the CLI this way:
mhsendmail test@mailhog.local <<EOF
From: App <app@mailhog.local>
To: Test <test@mailhog.local>
Subject: Test message
Some content!
EOF
How MailHog works
So we’ve now set up MailHog and are ready to check how it works. For this, you need to send an email using your app, terminal, or even PowerShell.
Sending an email from an app
The following CL script will send an email using the existing PHP configuration. It requires overriding the path for sendmail in the php.ini config file as above (sendmail_path = "/Users/jchristopher/go/bin/mhsendmail"):
php -r "\$from = 'sender@test.com' \$to = 'recipient@test.com'; \$x = mail(\$to, 'subject'.time(), 'Test email', 'From: '. \$from); var_dump(\$x);"
Command line code:1:
bool(true)
Sending an email with mail
That’s how you can test MailHog from your Mac:
date | mail -s "Test email" recipient@test.comInitially, we used the following Postfix configuration:
myhostname = localhost
relayhost = [localhost]:1025
The mail command listed Undelivered Mail Returned to Sender error. It might be a sign that Postfix service is not running or misses the relayhost and myhostname configuration. When we tried the mailq command, it reported the following problem at the beginning:
Host or domain name not found. Name service error for name=localhost type=AAAA: Host not foundOnce we switched the localhost to an equivalent IP address: 127.0.0.1, MailHog worked without a hitch. Here is the working Postfix configuration:
myhostname = localhost
relayhost = [127.0.0.1]:1025
Sending an email with PowerShell
Another option is to send an email with PowerShell:
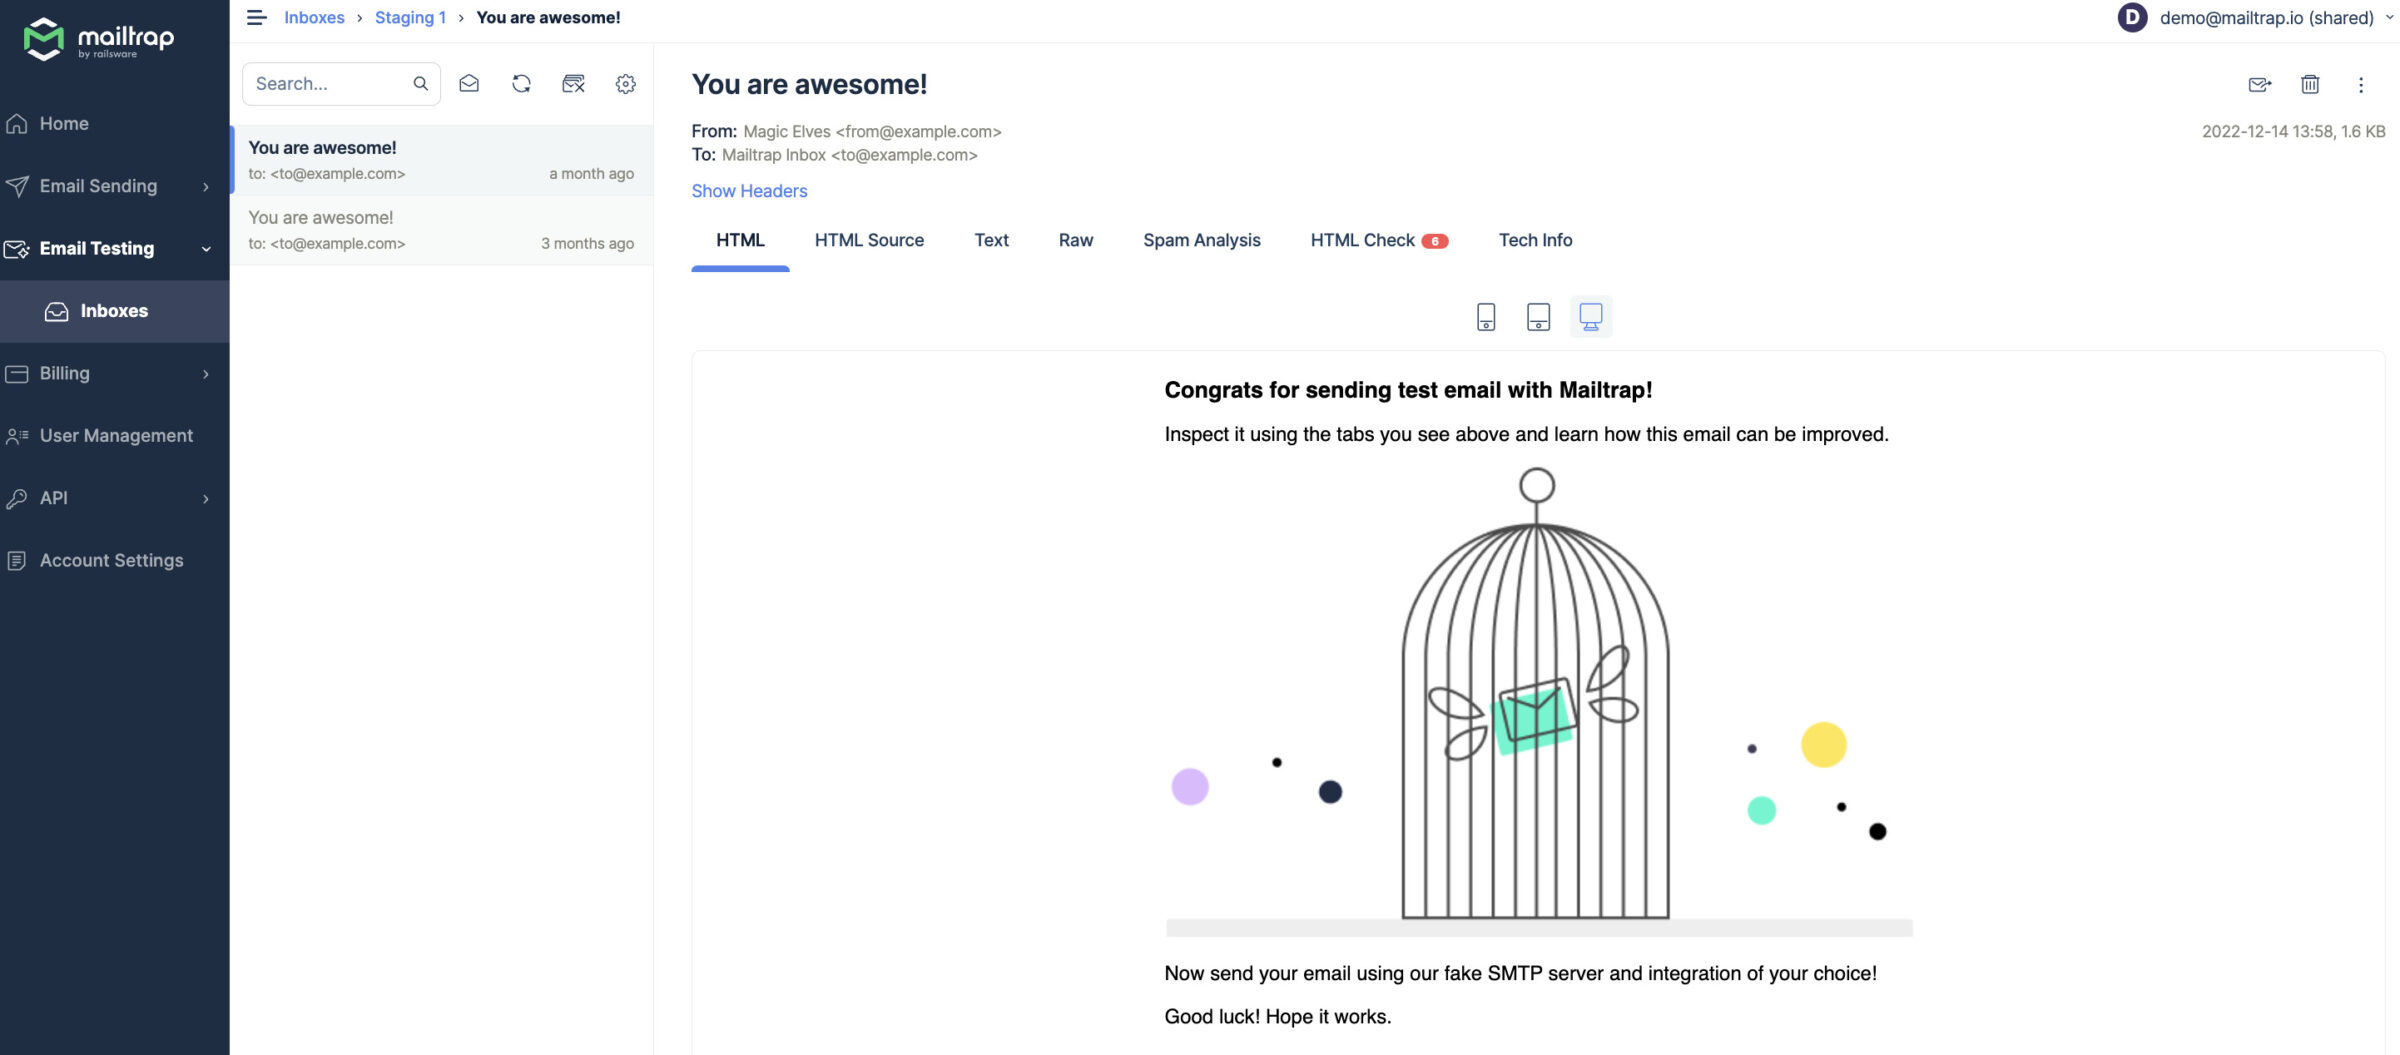
Send-MailMessage -To “recipient@test.com” -From “sender@test.com” -Subject "Test email" -SmtpServer “localhost” -Port 1025Outcome
And that’s what we’ve got:

Also, you can make use of MailHog API. It lets you check that an email has been submitted, as well as list, retrieve and delete emails.
What are the cons of MailHog?
In general, MailHog is quite a practical solution to test the email sending of your app. It enjoys some popularity among developers, but not much. Mostly, this is because MailHog is not a sophisticated service. It does not provide many functions. All you can do is hog your emails and retrieve them using the API. Also, it’s not a ready-to-use tool. You don’t have to install it at all, but some manipulations are required to set it up. If you need a professional solution, MailHog is not an option. So, are there any alternatives?
MailHog alternatives
MailCatcher, SMTP Bucket, FakeSMTP, and LunaticSMTP are good replacements for MailHog. But, being good replacements doesn’t make them the best tools you can use for email testing. Instead, you should go for a tool that is easy to use but also has plenty of functionalities like the one offered by Mailtrap.
Mailtrap Email Testing
Mailtrap Email Testing is a tool that could solve most, if not all, of your email testing challenges.
After its 5-minute setup, this tool enables you to preview, debug and inspect emails in staging, meaning you can find and fix any issues present in your emails before they are sent to recipients.
All you need to do to get started is complete the setup and configure your SMTP server according to the provided credentials. Alternatively, there are ready-to-use integrations for the most common web app technologies. So, if your app is built with, let’s say, PHP’s Laravel 7+, just set the provided values in the .env file in the root directory of your project:
MAIL_MAILER=smtp
MAIL_HOST=smtp.mailtrap.io
MAIL_PORT=2525
MAIL_USERNAME=<your Mailtrap username>
MAIL_PASSWORD=<your Mailtrap password>
MAIL_ENCRYPTION=tls
Mailtrap Email Testing has a range of features such as an HTML/CSS checker, spam score checker, blacklist reports, email headers information, SSO, and more, all intended to help you test emails safely while using automated test flows and scenarios. With it, you can stop doing manual testing and testing using your personal inbox, which is known to tank your domain reputation.
Other features of the tool include multiple inboxes, inviting team members, a dedicated email address for each of your inboxes, as well as manual/automatic email forwarding, to which access is provided based on the Mailtrap plan you are using.
Oh, and one more thing! If you decide to try Email Testing by signing up for a free Mailtrap account, you will also have access to Mailtrap Email Sending – an email sending solution that reaches customer inboxes just in time and provides a stable working email infrastructure as well as full control over email deliverability.
To wrap up
Frankly, MailHog is a good tool for basic email testing. It’s quite easy to set up and provides a web UI. The tool is on the same level as MailCatcher, Fake SMTP, and other similar solutions. At the same time, MailHog loses out to Mailtrap Email Testing in terms of enhanced functionality. That’s why you may see many comments from developers suggesting you should switch to Mailtrap Email Testing. So, perhaps you should give this a try for yourself and see how you find it. Check it out, and good luck in your development endeavors.